360 degree video tour in the assembly of Van Raam
Do you want to know how it looks like where the Van Raam adapted bikes are assembled? Take a look at the 360 degree video in the assembly. Control yourself in which direction you see.
Van Raam produces uniquely special needs bicycles and specializes in tricycles, transport bikes, scooterbikes, wheelchair bikes, tandem bikes, double rider bikes, and low step trough bikes (also known as comfortbikes). Each model is also available as an electric bike (Pedelec).
vanRaam is a Dutch producer of unique custom bikes. Want to know more about our company or special needs bikes?
Menu
Search
Our bikes
News

Besides custom made adapted bikes, we at Van Raam also make all our own wheels in our own wheel shop. See in our video and article how we make our wheels.

How does Van Raam make a wheel for adapted bicycles?
Read the following to learn how we assemble a wheel for a Van Raam custom bicycle.
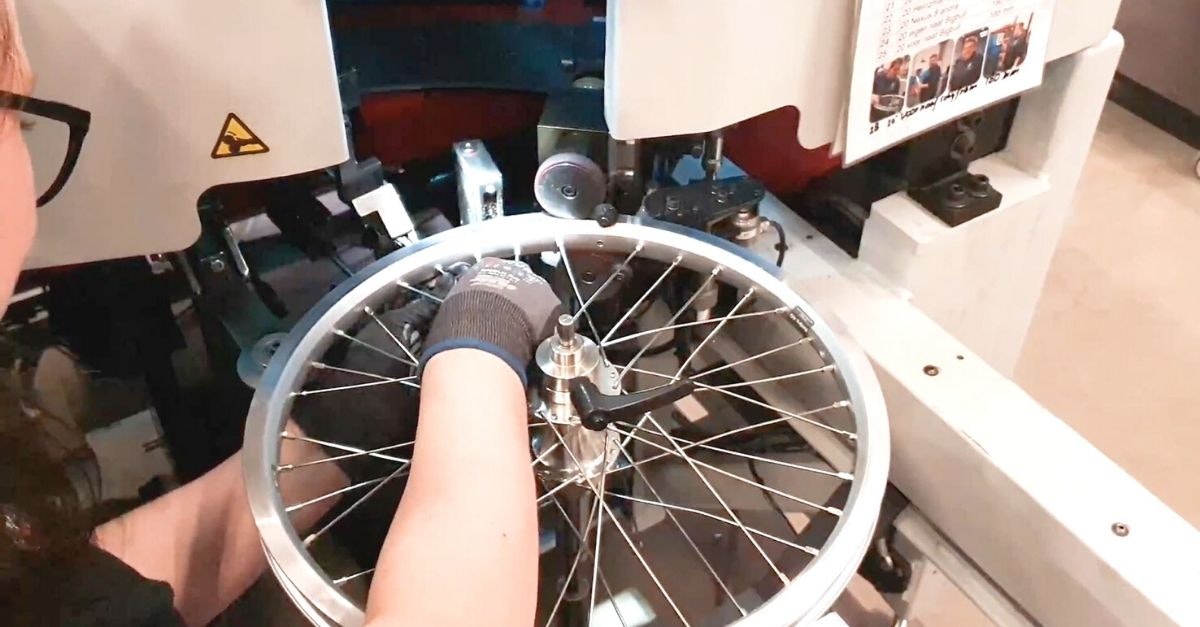
We start with a rim, 36 spokes and eventually a motor for the pedal support. Once we have all the components, the first step (at 0:09) is to place the individual spokes in the hub.
In the video you can see (at 0:12) how the spokes are held by hand at the correct spoke nipple and how the spokes are turned tight with the help of a machine. The employee at the spoke machine can use his or her foot to determine the speed at which the spokes are moved one spoke nipple further.
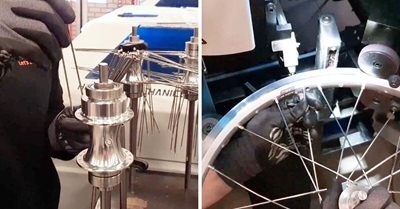
Did you know that at Van Raam we assemble about 145 wheels per day? And that with a team of approximately 5 people!
After inserting the spokes the rim tape follows (at0:25). This closes off the ends of the spoke nipples so that there is a flat surface on which the bicycle inner tube can rest.
After the rim tape, in the following step (at 0:39) the spokes are properly tensioned and tested whether they are well tensioned or still need to be adjusted.
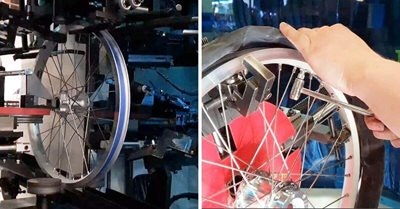
Is the wheel approved? Then it is almost ready! All that is left to do is to fit the inner tube and the tyre (at 0:56).
As the last step before the wheel is put on an adapted bicycle, it is taken from our wheel assembly to our bicycle assembly, where it finds its place on a bicycle.
You can also assemble your own wheel for your bicycle. For example, you can choose puncture-proof tyres. Take a look at these and all other options for your chosen bike in our online configurator.
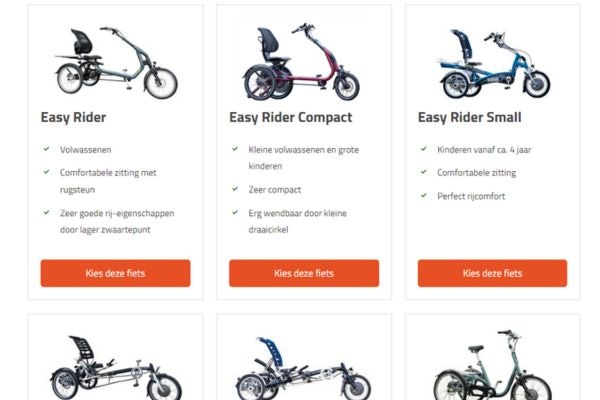
As a manufacturer, we make adapted bicycles in our factory in Varsseveld for children and adults with disabilities who want more stability and safety when cycling. See more about bicycle manufacturing on the page 'How a Van Raam bicycle is made'.
Take a look at some more departments of Van Raam. We have filmed several departments in 360 degrees. Take a virtual tour of Van Raam.


Do you want to know how it looks like where the Van Raam adapted bikes are assembled? Take a look at the 360 degree video in the assembly. Control yourself in which direction you see.
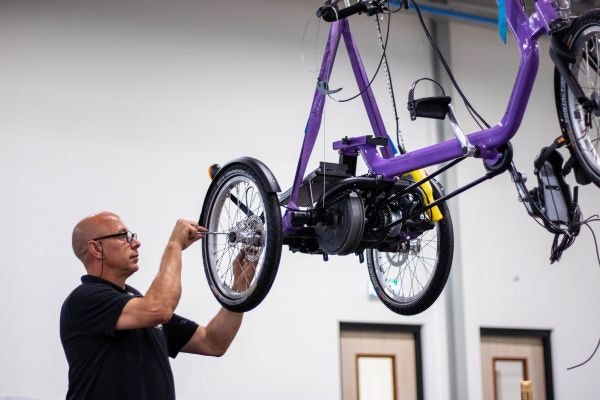
Are you curious about what happens after you order a Van Raam bicycle? Read in this article the 7 steps a bike goes through from order to delivery.
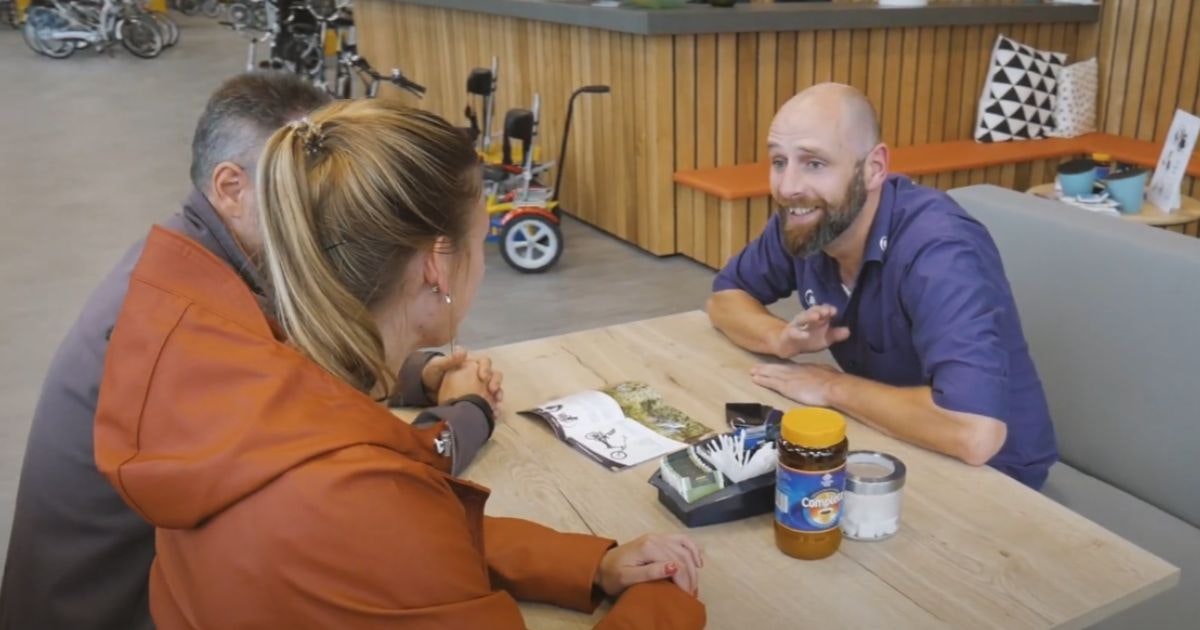
vanRaam's adapted bicycle all have different prices. But how did we come up with those prices? We would like to tell you more about that in this article!

Are you curious how the Van Raam production in Varsseveld looks like? Take a look at our production in our 360 degree video and control youself in which direction you want to look.
We are happy to assist you! Please check our contact page or contact us directly using the options below.